Some new bits arrive from ebay.
Oil breather (braided) tube
Jubilee clips for breather tube
Bolt/split washers/ nuts for tinware M6 stainless
Bolt/split washers/ nuts for steering M10 stainless (wrong size!!!)

Stainless jubilee clips for the air hoses


Box of assorted circlips.

As the engine had been running I had to dismantle a few bits to remove the fan shroud housing.

I also needed to fit the flap thermostat which I had not done. You can just see the threaded end of the arm which attaches to the thermostat protruding between the 4 tubes.

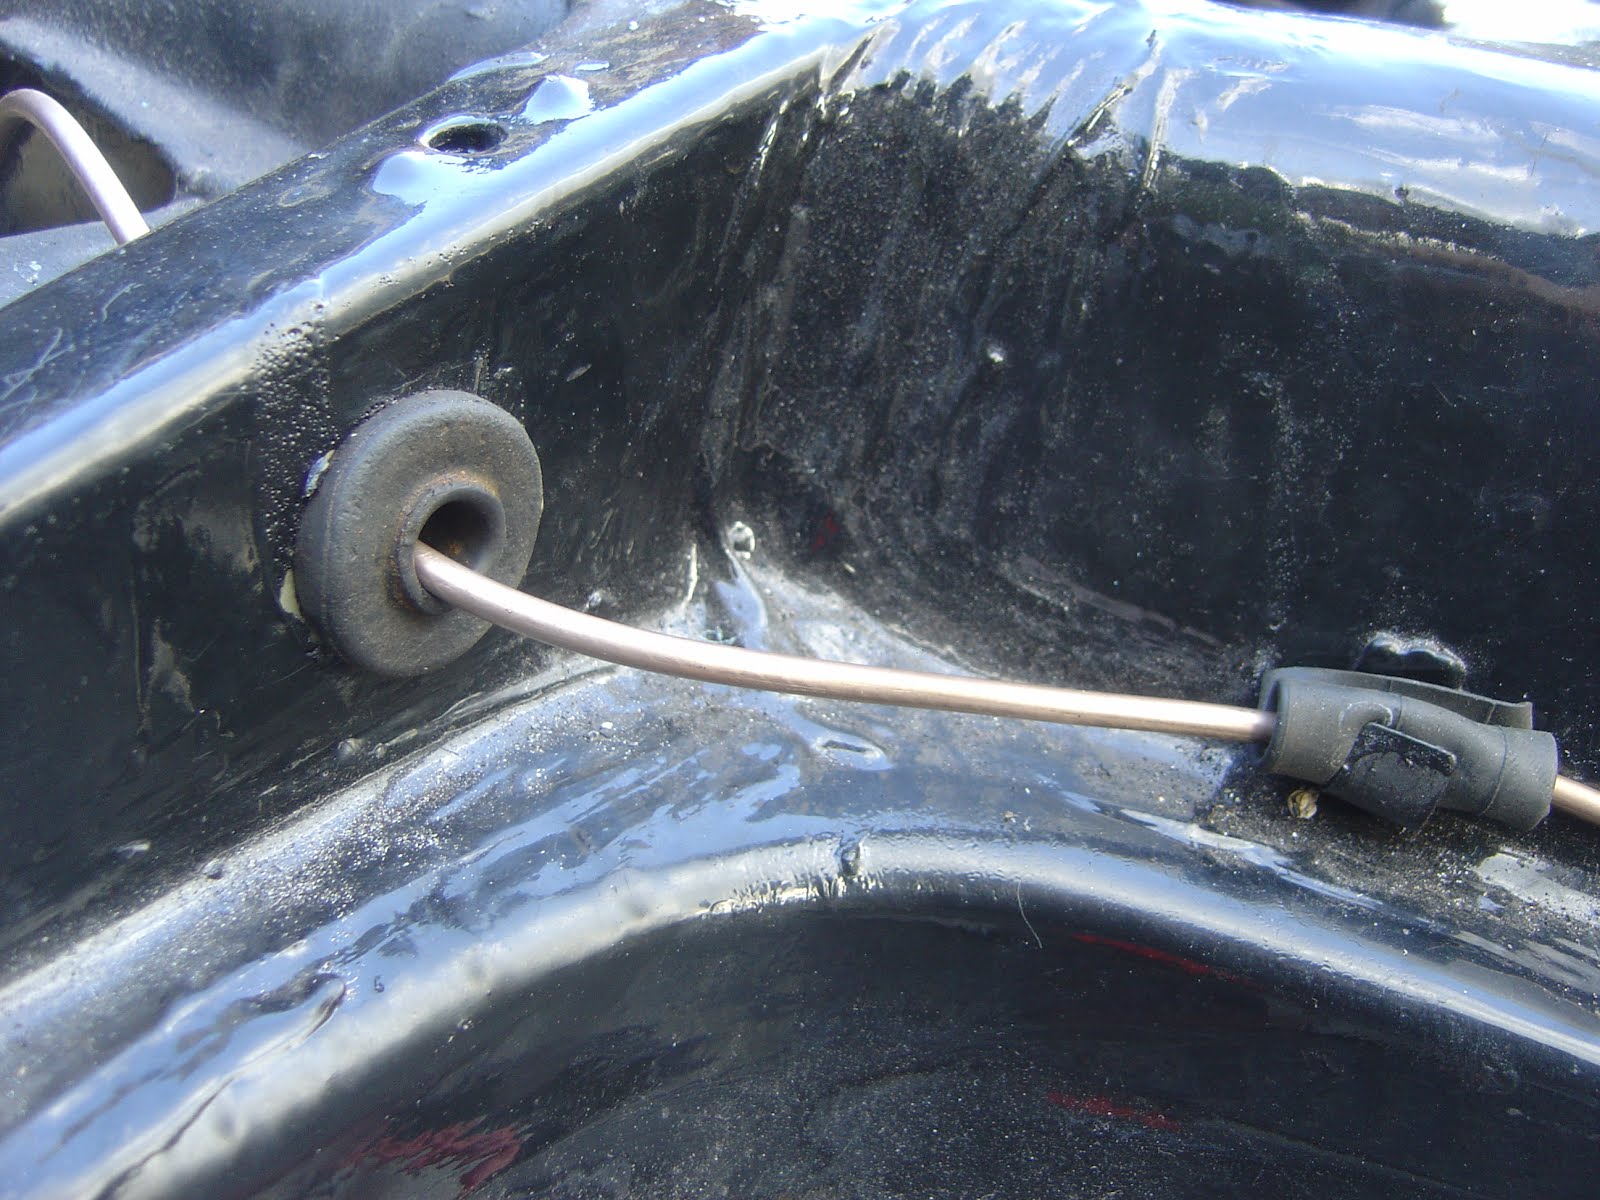
The old fuel line wasn't in to bad a shape but for some reason it was in 2 bits with a connector joining it. So I replaced it. Just taped the new to the old and pulled it through.

Came through surprisingly easily.

Circlips now hold the flap control arm in place.

Clipped the new fuel line in place and used a bit of the old oil breather hose to protect it where it goes through the tinware.

New jubilee clips on the air hoses.

New oil breather hose and clips.

The new thermostat fitted with the old support. I had to file it down a bit so it could expand correctly.

All tinware screws replaced with stainless bolts.


 First of all I used some metal ready. Sealed the tank the best I could and agitated it to cover all internal surfaces.