Unfortunately a leek appeared.Very small, dripped slowly, every 30seconds or so a drop would fall.
Sunday, 17 April 2011
New (old) petrol tank
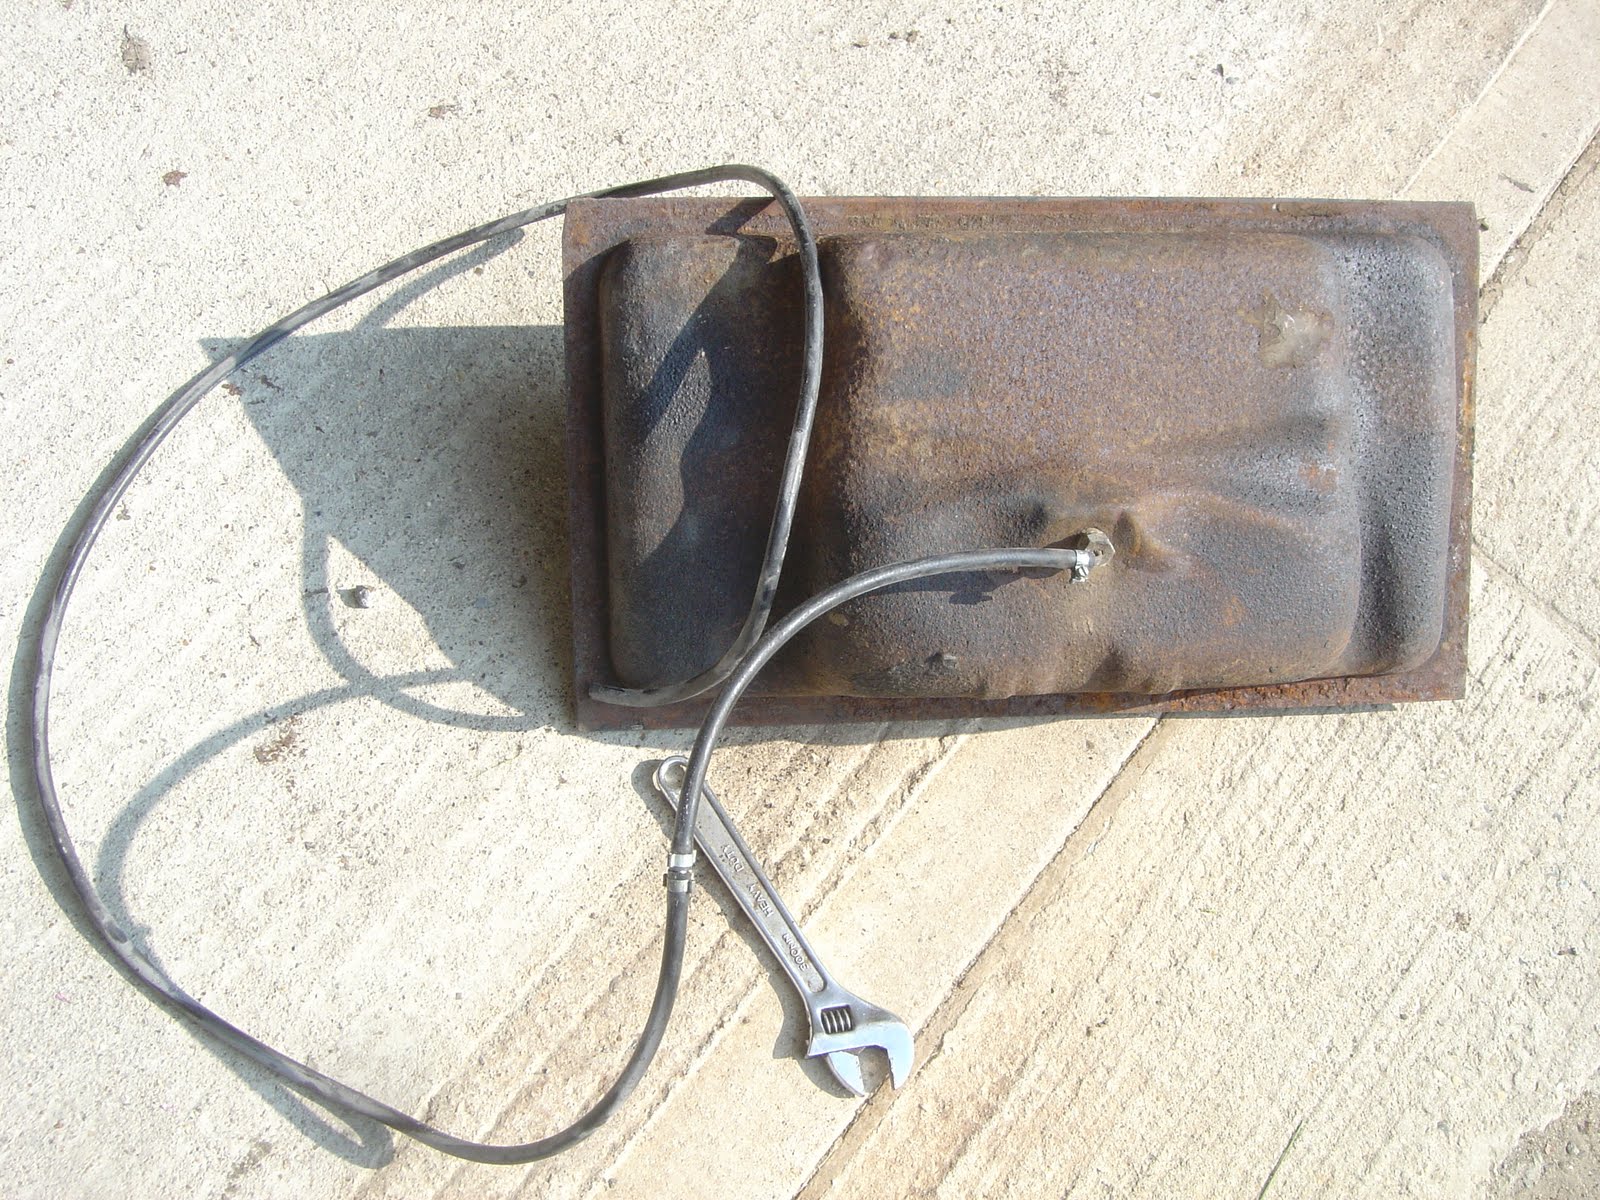
Got a second hand tank on ebay. Thought I should probaby test it out before I fill it with petrol!


Unfortunately a leek appeared.Very small, dripped slowly, every 30seconds or so a drop would fall.

Unfortunately a leek appeared.Very small, dripped slowly, every 30seconds or so a drop would fall.
Saturday, 16 April 2011
Seam sealing the rear of the body
After using the first 1kg tin of seam sealer on the front I had to get a second. For the rear I was a little more liberal with its application and tried to seal any water traps.


A coat of vactan on the inner seams.

A small hole on the passenger could be seen below the guttering, toward the engine compartment. It was a larger hole on the inside but more importantly, could allow water in.


Just a little bit of filling.
A coat of vactan on the inner seams.
Just a little bit of filling.
Sunday, 10 April 2011
Door hinge brackets
When I previously fitted the doors to test the openings, nuts where used as the condition of the brackets was poor (see below).

Rather than purchase new brackets, I undertook a mini restoration.
First I removed what was left of the rusted bolts.


Some of the threads where ok.

In the damaged threads I just drilled them out with the idea of welding on nuts.


Unfortunately, whilst I could melt the weld to the nut, the bracket would not have anything to do with it!

I may have another go later or just use the bracket as a washer.
Rather than purchase new brackets, I undertook a mini restoration.
First I removed what was left of the rusted bolts.
Some of the threads where ok.
In the damaged threads I just drilled them out with the idea of welding on nuts.
Unfortunately, whilst I could melt the weld to the nut, the bracket would not have anything to do with it!
I may have another go later or just use the bracket as a washer.
Captive nuts - the last one, really this time!
I tried my best to save this captive nut for the rear passenger wing, but it is too far gone. I started by drilling around the nut with a small drill bit at first.


I completed surrounding the nut.


Added a few more holes.


Then I moved up a drill size or two.


The reason the captive nut couldn't be saved, most of the bolt was still in!


A quick bit of welding to hold the new captive nut in place.


After grinding down the weld I filled in.


A little sanding.

One more application of filler should make the repair invisible.
I completed surrounding the nut.
Added a few more holes.
Then I moved up a drill size or two.
The reason the captive nut couldn't be saved, most of the bolt was still in!
A quick bit of welding to hold the new captive nut in place.
After grinding down the weld I filled in.
A little sanding.
One more application of filler should make the repair invisible.
Subscribe to:
Posts (Atom)