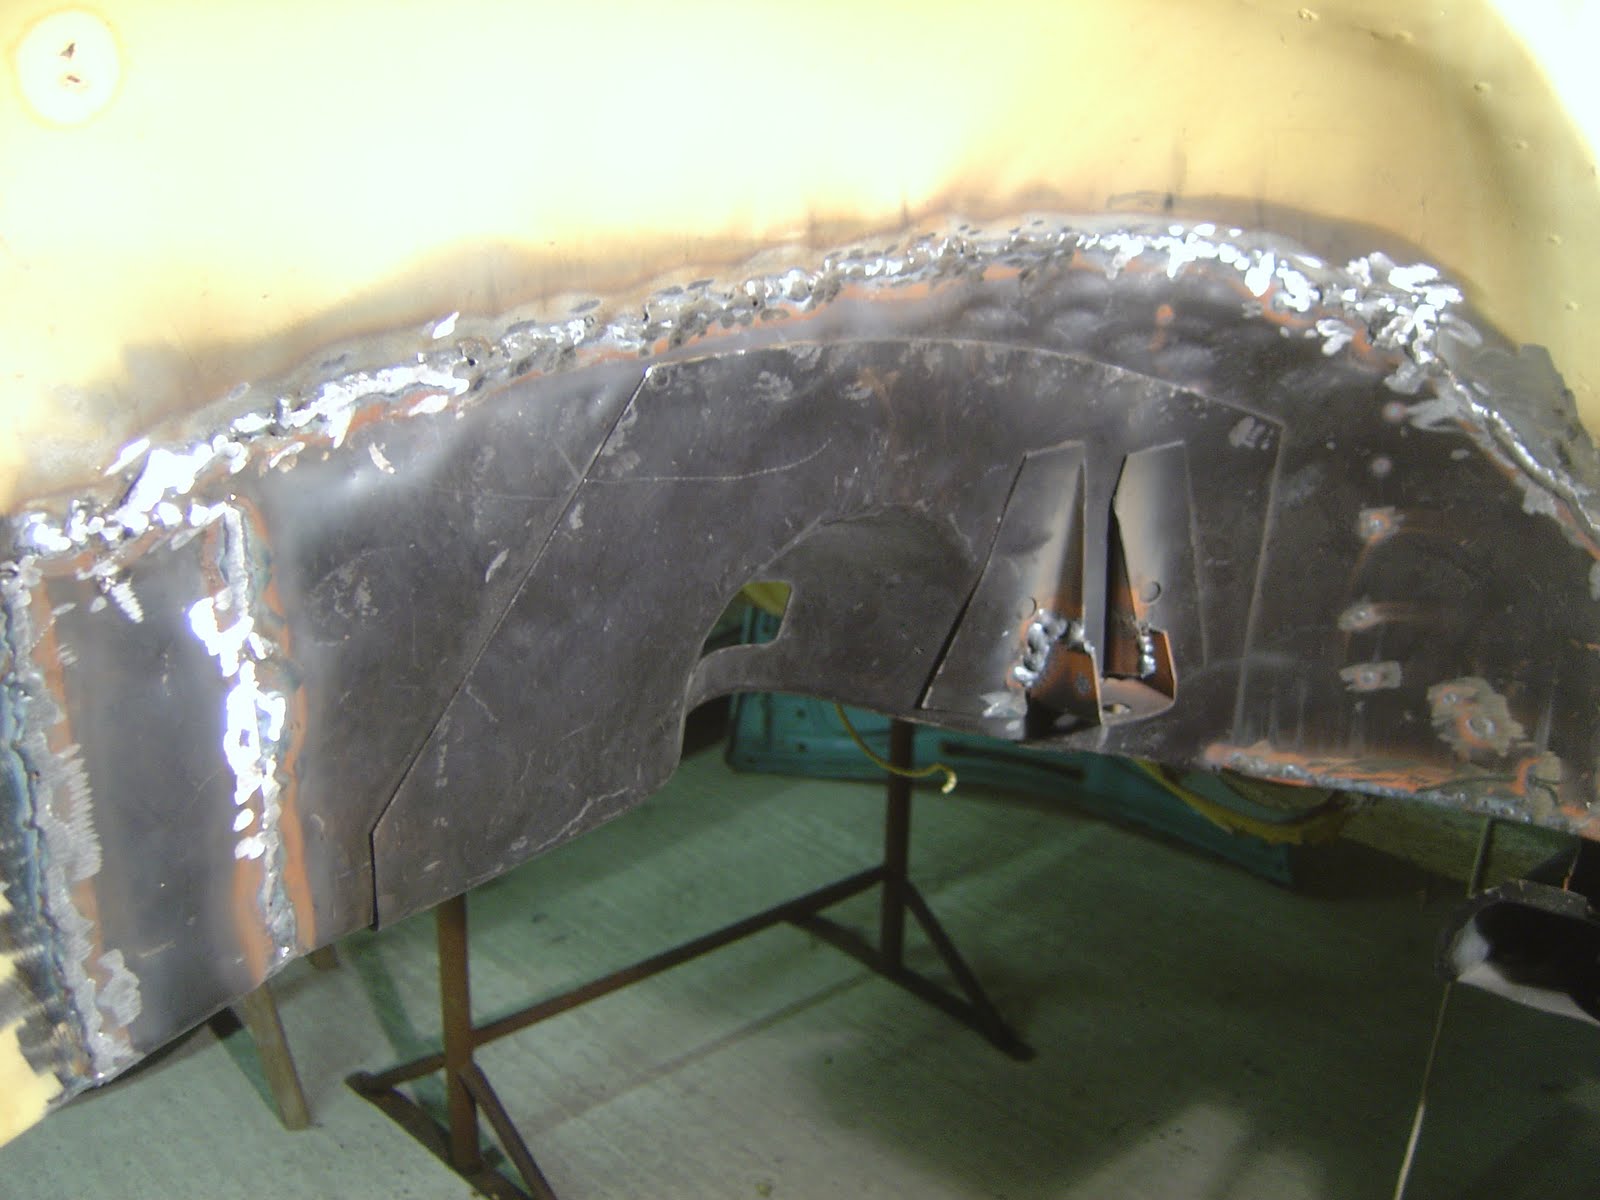
So all the weld of new parts had been done. Well ok, the panels that could be fitted with the body on. It was time to get the body off. First the bolst holding the floor are removed.
We had some metal trestles that we laid 2 beams of wood across. After watching the BugMe videos which show how to rasie the floor, then lower it leaving behind the body, we just lifted it off. Two on the back and one on the front.
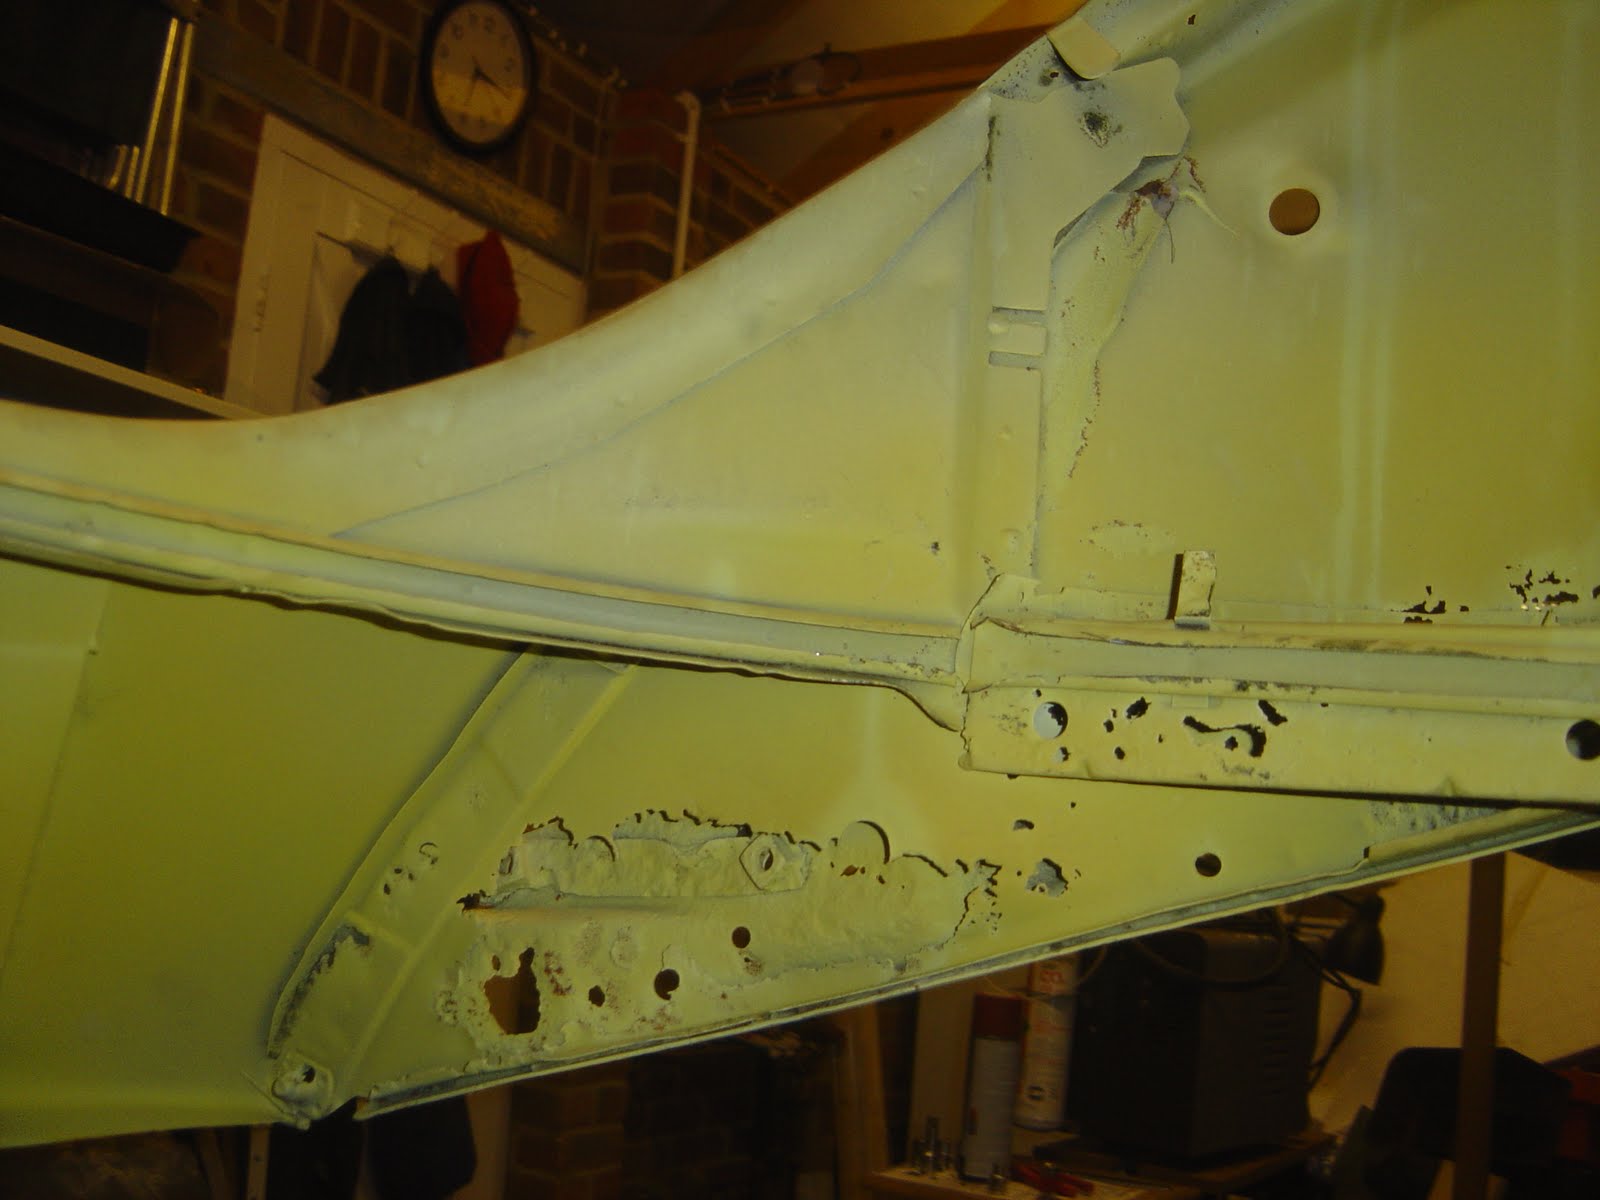
There are two holes either side that require patches. I prepped the areas by grinding down so that a patch can be more easily fitted.
Then I finished off the rear which had recently been welded. First grinding down the weld, then covering the area in krust and finally primer. Later it will be painted again and seam sealer used. Followed by stone chip.
The rear of the car, the engine compartment, is the last area to require welding. Nothing structural, just to prevent moisture getting in and make it look a little more original.
Although the floor was entirely new, it had the wrong seat runner on it. When fitting the correct runners for the original seats, a few correcting bits where needed.
The state of the area before. Several holes around the mounting point exist.
After holding the panel up and a lot of thinking, the first cut is made.
Bad metal removed.
The replacement panel was trimmed to fit.
For some reason the actual mounting point was too low compared to the rest of the panel. In order to make it fit we cut part of it off and welded it on a bit higher up.
Once the panel was fitted a replacement part was made for the inner corner.
All that is left is the missing section which can be better replaced when the body comes off. Some further welding from below will be done at this time.