Felicity slush fund currently:

£1,409.29

Wednesday, 24 November 2010

Tuesday, 23 November 2010

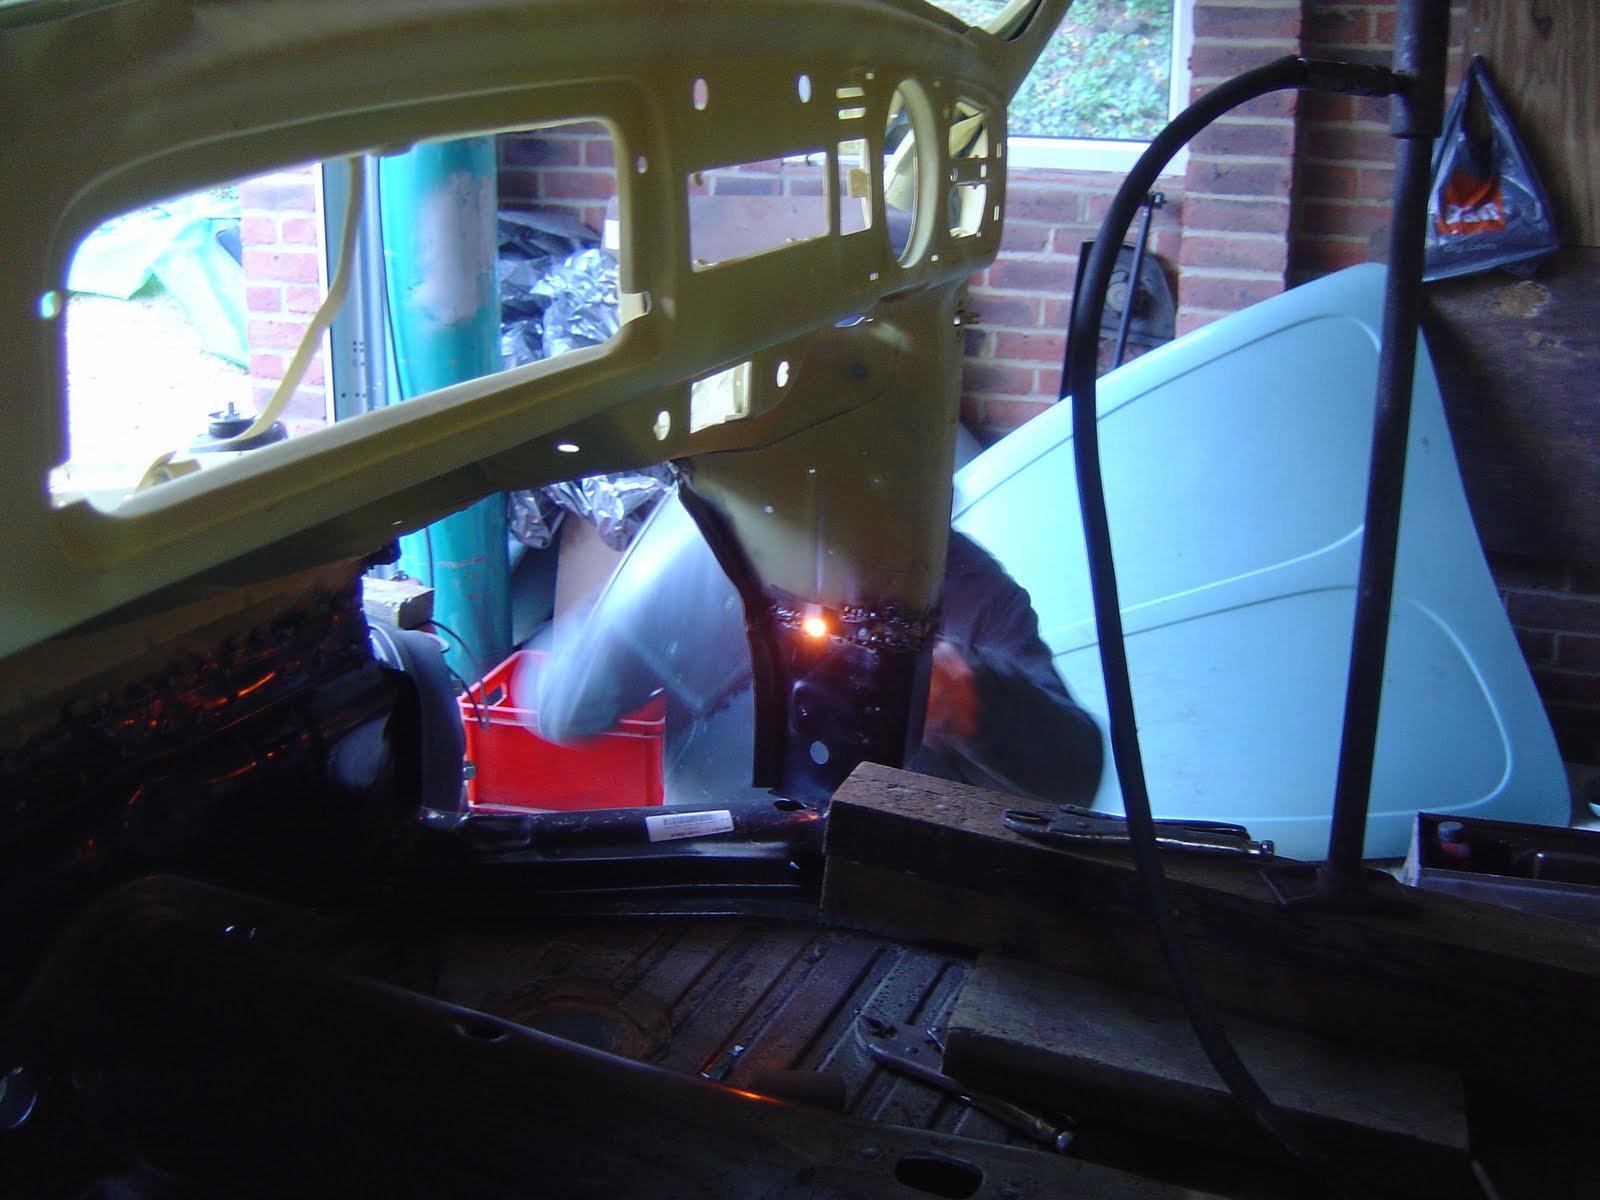
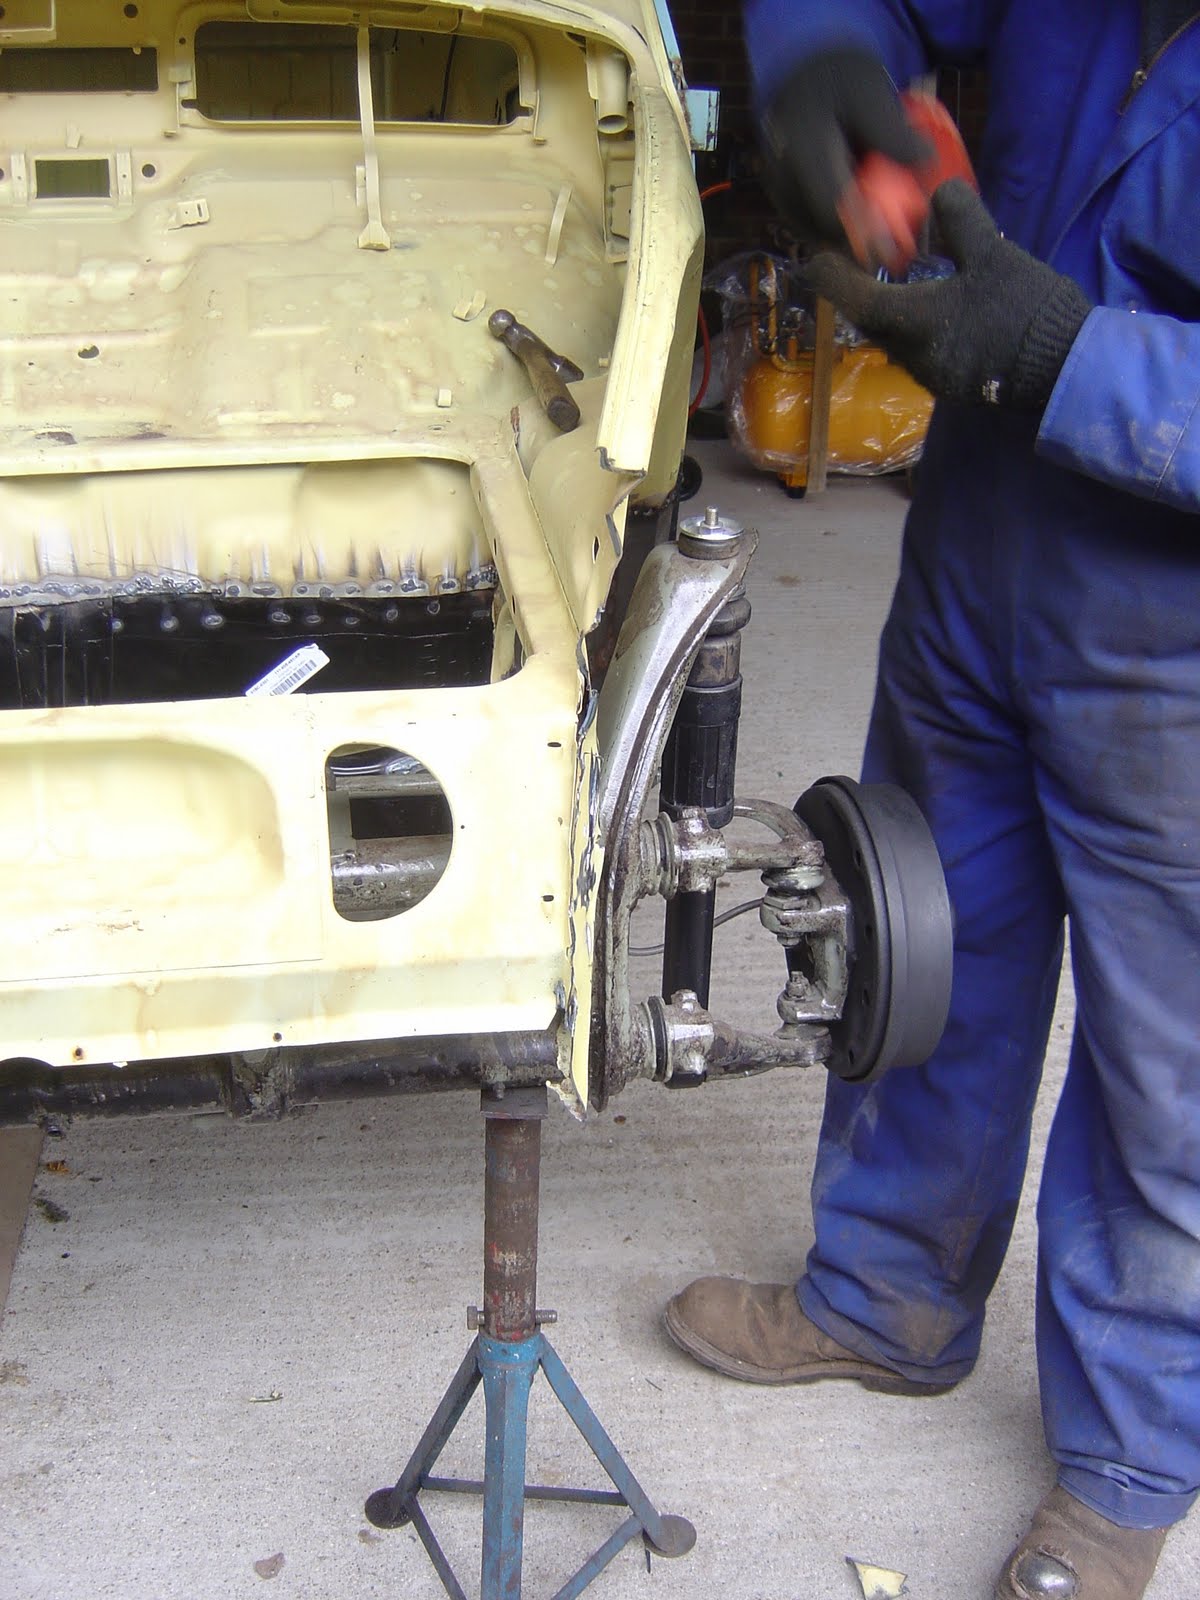
Front inner wing/ apron - New panels welded


Front inner wing/ apron - New panels fitted

In order to make sure the new panels fit correctly, the bonnet and wings where fitted.


Beginning to look like a car finally!


Front inner wing/ apron - Removal

The front apron needed replacement as does the passenger side front wing.


These were cut off and the new parts held up for modification.


We fitted the bonnet to help with alignment.

Cleaning up a hinge

Taking the doors off was a bit of a challenge. I had to drive the pin out of one hinge.


After cleaning I put it back together with a new pin.

Saturday, 13 November 2010

New panels

So the first problem I had was the new front wing that has been fitted, has no fuel access flap. The panel was available but is about £70-80 more expensive. The access in the old panel is without defect so I thought I would just spend some time cutting it out and fitting it to the new panel. Today, when picking up some new bits, I asked about the old petrol tanks. Pre 68. They have the filler cap under the bonnet. Would they fit my bug?

I was told that it will, I just need to get a new petrol cap to fit the new tank. This worked out really well as I was thinking that I should use some fuel tank sealer as it is almost 40 years old. Who knows what the inside is lined with now!


Also got the rubbers for all windows, the engine bay and the floor to body gasket. The accelerator and clutch cable was also included in my purchases.


The front valance.


The bottom of the spare wheel bay.


Passenger side front wing panel.

Wednesday, 10 November 2010

Body work - drivers side wing replacement

Previously we have tried to set the size of the door opening correctly but up until now thing have only been tacked in place. With the drivers wing becoming fixed today, it would mean the door post can be fixed in place for good.


As can be seen here (sorry about the contrast, it was a sunny day) the bottom of the wing and the top gutter has been destroyed by rust.


A previous repair (not by me!) was the bottom of the spare wheel bay was replaced and riveted in place. It did not take long to remove.


With the old panel cut off, the remaining parts of it were grinded out.


Cutting the door post for realignment.


Welding the door post in place.


The new panel in place. It was not simple to fit but after much fiddling it was ok.


All the welding needs tidying up but the panel is in place and I have another shopping list of parts to replace!