Felicity slush fund currently:

£1,409.29

Saturday, 2 April 2011

Door post - filling the last holes

At the bottom of both door post are these little holes that need filling in and sealing to make weather proof.

Passenger side.


I roughly marked out a piece and welded it at one end. Then used the grinder to shape.


Then continued to weld all the edges necessary.


Then a bit of grinding was needed. As you can imagine it is difficult to reach right into the corner.
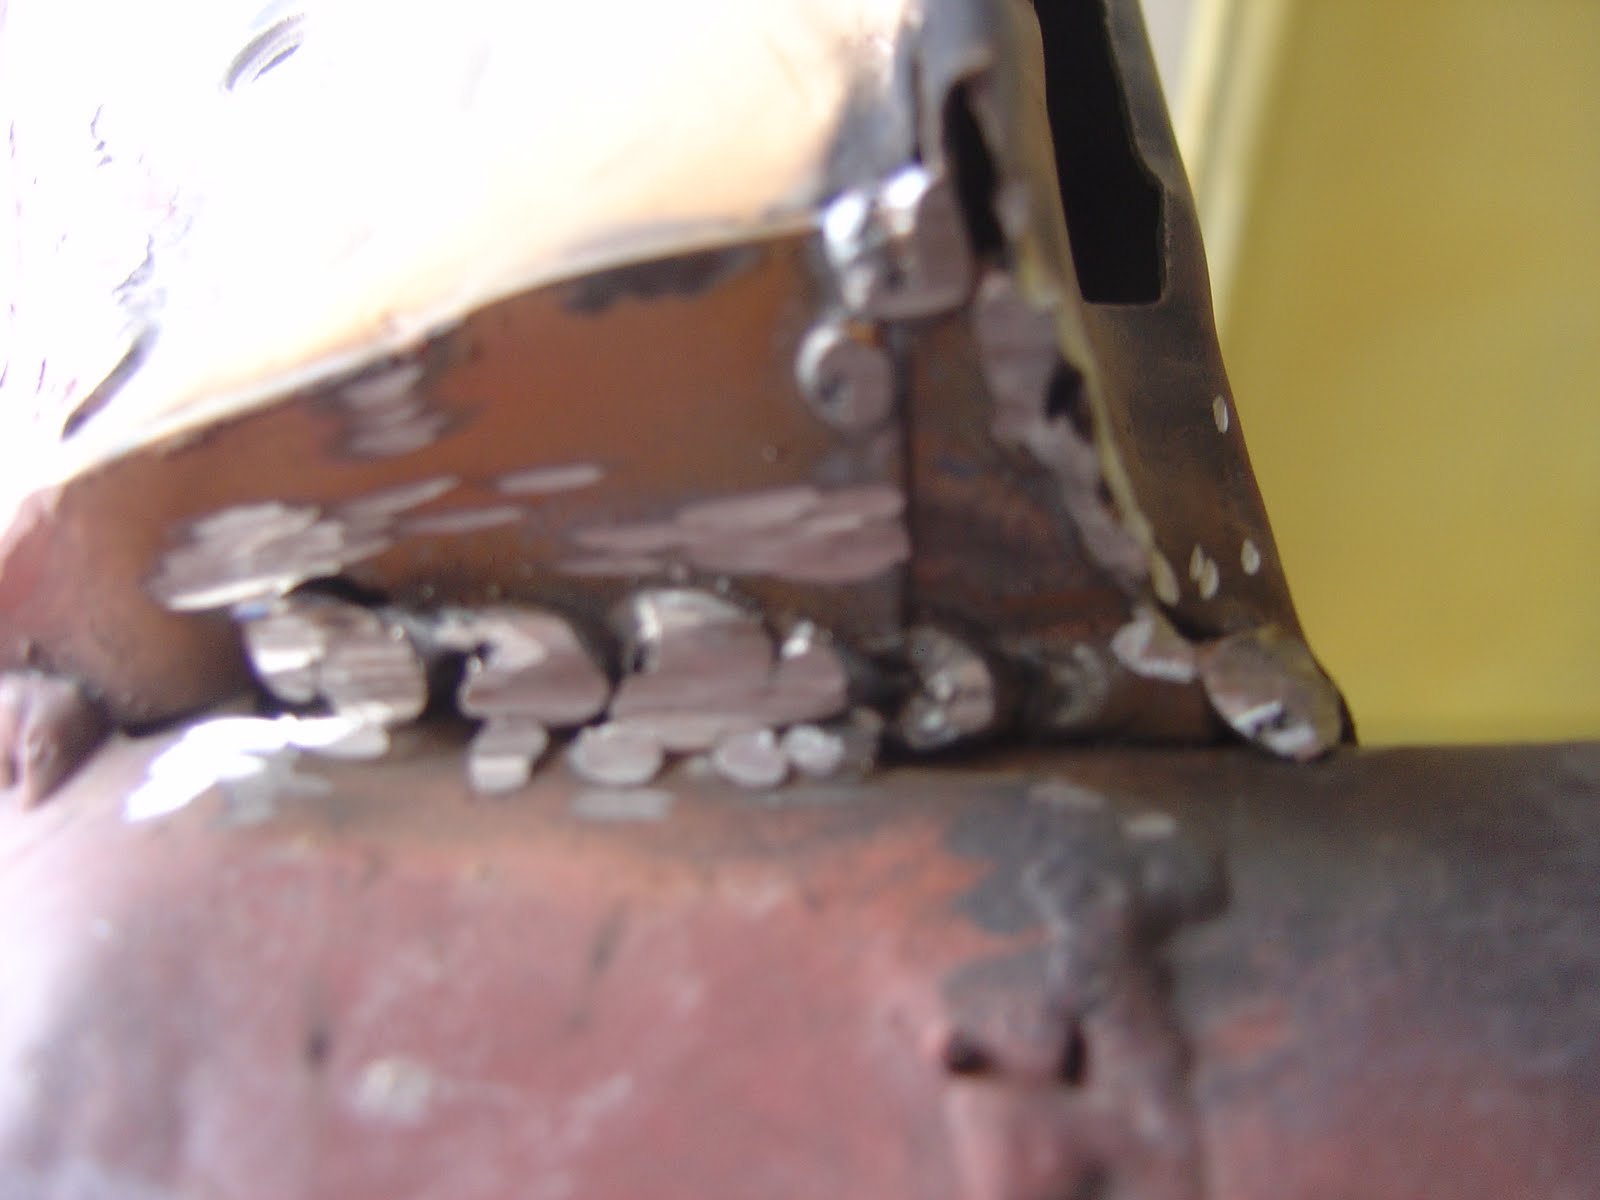

The I did the same with the drivers side.


To completely seal it I used a little filler.


And sanded the filler.


It wasn't as smooth as I would have like but it is pretty inaccessible, so I did a second round of filler later on.

Sunday, 27 March 2011

The last bit of filling for the body?

After sanding down for the fourth time, some areas looked ok...


and other areas had small holes in the filler.


Cleaning before filling.


One last (?) application of filler, just to remove the small holes.


Primer before seam sealing

Went over all the areas that are in need of seam sealing with primer. Also a few areas that had bare metal showing.


Saturday, 26 March 2011

Captive nuts - welding

After drilling out the old, damaged captive nuts, I used a bolt to hold the nut in place.


Not looking pretty but sturdy enough.

Rear quater/ door post - filler time 3 or 4?

Ok, so I'm beginning to loose count on how many times I filled and sanded these areas.


Rear gutter above the engine compartment.


Passenger door post.


Other side of the passenger side door post.


Above the passenger door post.