Felicity slush fund currently:

£1,409.29

Saturday, 30 April 2011

Chasis - Paint!

So finally the floor was ready for painting. A polythene dust sheet protecting the body and we're away...


Ok, so there was some prep time involved. I wanted to make sure everything was ready and within reach.


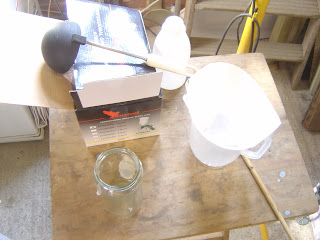

Chassis black!


Not sure if you need to use a filter on the chassis black. Its probably good practice and as I've never done it before, good practice for me!


First coat and its looking shiney. I used 300ml paint and 60/70ml thinner which covered the bottom of the floor.


The most boring/ annoying job was cleaning. A job that can't be done too well. :-(


I used some thinner in the gun to clean under pressure.


Happily it was a warm sunny day out side and there had been no rain for about a week or more.

Friday, 29 April 2011

Chasis - prep for paint - vactan

After removing any rust spots I covered the chassis with vactan.
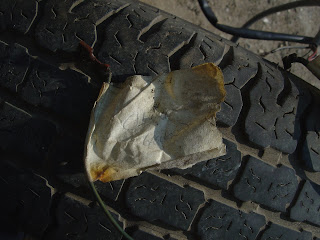


Chasis - prep for paint - seam sealing

The bottom of the floor had a few places that could do with further seam sealing.


Monday, 25 April 2011

Chasis - prep for paint - checking out the wiring

Had a look at my box of wires.


Main reason for getting this out was to check out the path the wiring loom took through the body and floor.


Some of the ends are well labeled.


This part of the main wiring loom is where the voltage regulator is attached. Not so well labeled here but not took difficult to work out the order. I hope!


These would connect to the passenger side rear lights.