No idea what this one means?
This is obvious.

The colour code.

On the passenger door, next to the top hinge.
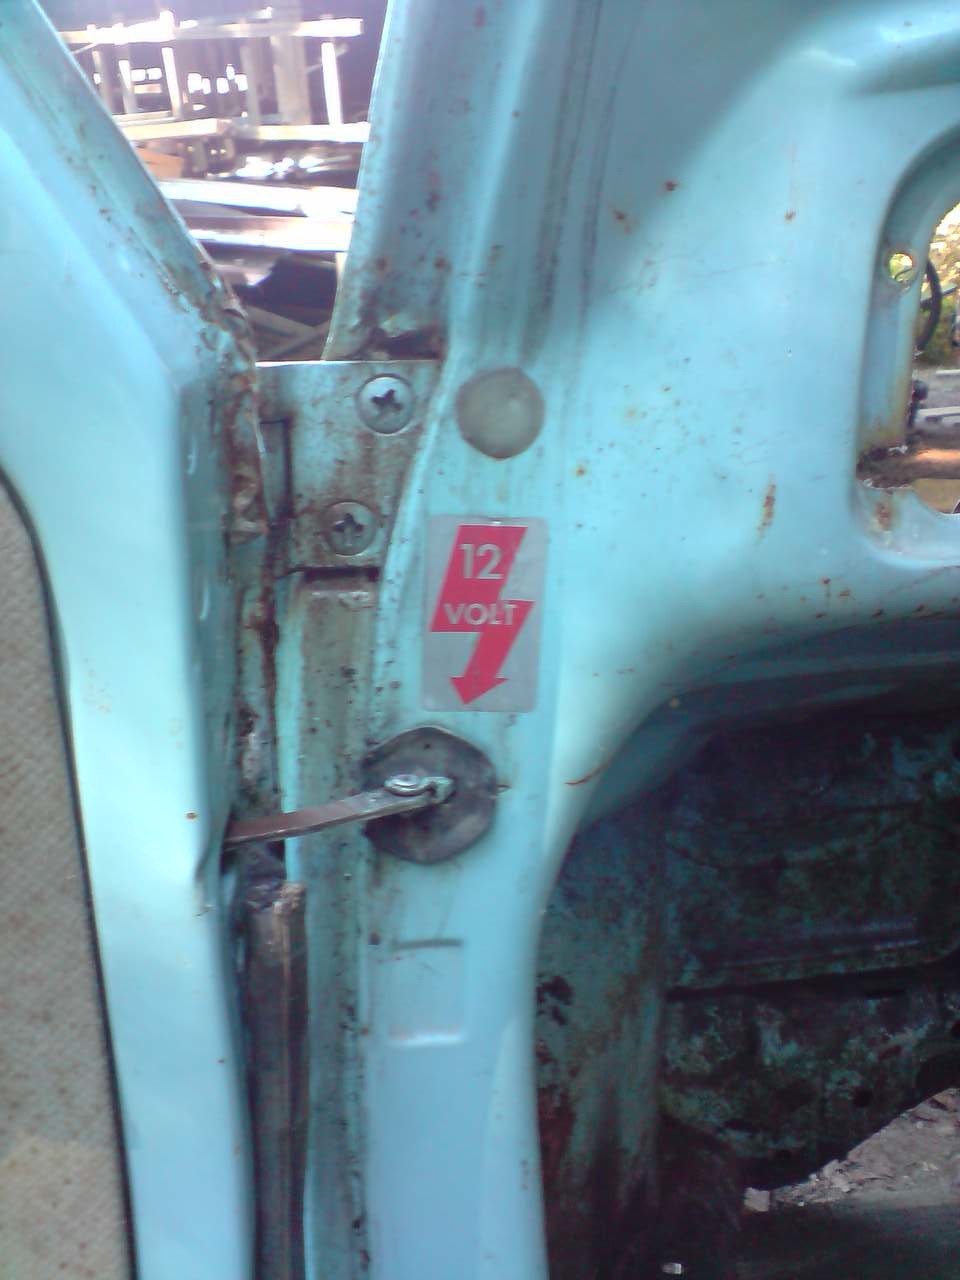 No 6 volt system here.
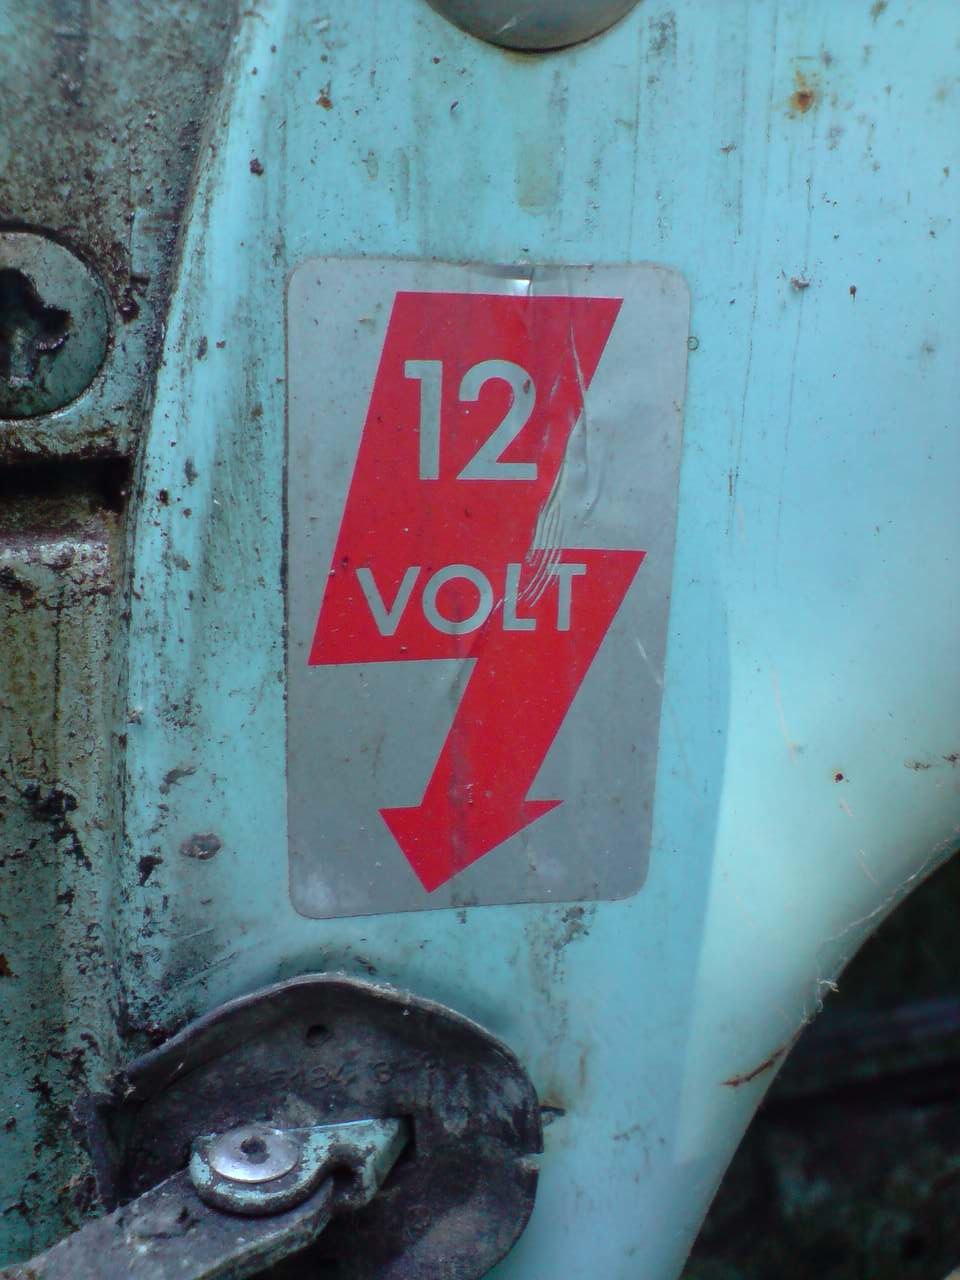 No idea what this one means?No 6 volt system here.
 With a stanley knife I cut out the material. Every 10-15 inches there are metal, coat hanger style, bars that hold the headliner up. They where only held in by the material so I managed to rip them free and bend them in the middle ti poke one end out of the gutter they are caught in.
 Best thing was I found the remains of a mouse house. Droppings can be seen above. The top bit of fluff is circular and looked like what I image they would call home.
 From the inside I cut away all the rubber that is holding on to the glass. The rubber is pretty thick and I had to make two cuts. The first is depicted below. The second cut removed the rubber to the left of the blade in the picture and was made at right angles.
 Then I was left with the rubber on the window only. I only removed all the rubber on the rear windows as they would not push out and I was afraid of breaking the glass. On the rear and front windscreen I only removed the top and side rubber. They both came away very easily.
 On the outside I made a cut and the rubber pulled free very easily.
 At this point the window was free and I just lifted it out.
 It didn't tak too long to remove the rest.


 You add water, which is a bit strange and leave it for 24 hours.

 Almost there. Had some bags on the axels as they tend to leak oil when tilted down.


 A close up of the fan. Looking a lot better now.
 The outside was straight forward. Just need to get that fuel tank kit.
 The fan shroud is quite rusty on its inaccessible insides. These wire brushes that fit my drill are whats left of the process so far.
 The result is quite good. I'm never really going to be able to reach the inside though. So I thought I'd try a rust bath. One ordinary pallet becomes...
 A bath frame?
 Seems to be the right size and didn't take to long to make. Perhaps there's a few too many holes at the moment.
 Just need to find some plastic sheeting and everything will be ready.
 It started to look good.
 But then disaster as I went through some of the metal.
 As you can see the hole is clearly visible. With possibly more holes to be uncovered, I'm not sure its worth the time and effort to repair this. At around £65 these aren't cheap.